

Design T-Shirts for Bulk Printing: A 2026 Guide
Table of Contents
- Why Bulk T-Shirt Design Requires a Different Approach
- Understanding Printing Methods and Their Design Implications
- Best File Format for Screen Printing and Digital Decoration
- T-Shirt Design Software for Beginners and Scaling Entrepreneurs
- How to Prepare Artwork for Bulk Printing: Technical Specifications
- Sizing, Placement, and Design Layout for Maximum Wearability
- Scaling From Small Batches to Wholesale and Managing Bulk Orders
- Frequently Asked Questions
Last Updated: September 22, 2026
Why Bulk T-Shirt Design Requires a Different Approach
When you design t-shirts bulk printing, it's fundamentally different from creating a one-off design. When you're ordering 50, 500, or 5,000 shirts, every decision you make gets multiplied across the entire run. A color that looks perfect on your screen might shift across hundreds of garments. A file format that works fine for a single print can cause production delays when scaled. The stakes are higher, and the margin for error shrinks.
The custom t-shirt printing market is growing fast, valued at $9.88 billion in 2026 and projected to reach $14.61 billion by 2030 according to The Business Research Company's custom t-shirt printing market analysis, but that growth only rewards businesses that get the fundamentals right.
The difference comes down to three things: understanding your printing method, preparing files correctly, and thinking about wearability at scale. This guide walks you through each one.
Understanding Printing Methods and Their Design Implications
Different printing methods demand different design approaches. Screen printing, direct-to-garment (DTG), and heat transfer each have their own technical requirements and visual limitations. Pick the wrong method, and your design either won't print correctly or will cost far more than it should.
Screen printing is the industry standard for bulk orders. It's fast, durable, and cost-effective at scale. But screen printing requires color separation, breaking your design into individual layers, one for each ink color. This limits your color palette and demands precise file preparation. Photorealistic designs don't work well. Simple, bold designs with 2-6 colors perform best.
Direct-to-garment (DTG) printing feels more flexible. It can handle unlimited colors and photographic detail. But DTG is slower, more expensive per unit, and the ink sits on top of the fabric rather than bonding with it. For bulk orders under 100 units, DTG makes sense. For larger runs, screen printing usually wins on cost and durability.
Heat transfer works by printing your design onto transfer paper, then pressing it onto the shirt. It's fast and allows full-color designs. The downside: transfers can crack or peel after repeated washing if not applied correctly. For designs that need to last years, screen printing is more reliable.
Most bulk orders use screen printing. If you're ordering 50+ shirts, assume screen printing unless you have a specific reason otherwise.
Best File Format for Screen Printing and Digital Decoration
The best file format for screen printing is vector graphics, specifically, Adobe Illustrator (.ai) or EPS files. Vector files use mathematical formulas to define shapes and colors, which means they scale infinitely without losing quality. They're also easy to separate into individual color layers, which screen printers need.
Raster images (like JPEGs or PNGs) are the opposite. They're made of pixels. When you enlarge a raster image, it gets blurry and pixelated. For screen printing, raster files create headaches: printers have to manually trace your design or ask you to redo it, adding time and cost.
If you're using design software like Canva or Adobe Express, export your final design as a PDF or EPS. These formats preserve your colors and shapes without degradation. Avoid exporting as JPEG or PNG for bulk printing, these formats introduce compression artifacts that screen printers can't work with.
For DTG printing, raster images are actually acceptable, but vector is still preferred. For heat transfer, either works, though vector files print cleaner.
Resolution matters too. For screen printing, your file should be at least 300 dots per inch (DPI) at the size you're printing. A 12-inch-wide design needs 3,600 pixels of width (12 × 300). This ensures crisp lines and sharp text, even on small designs.
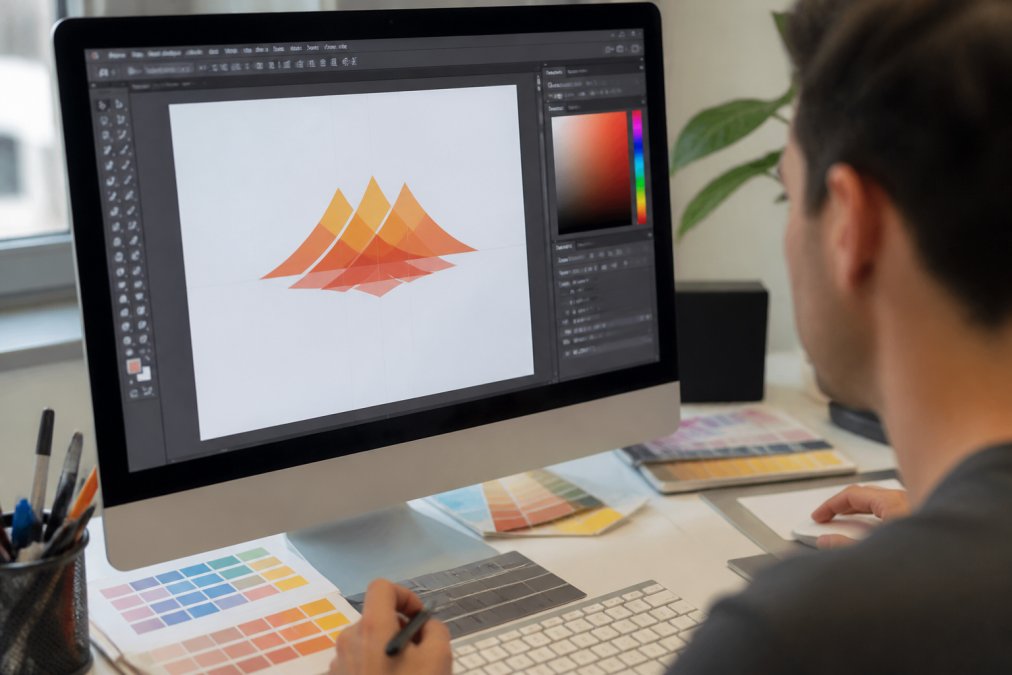
T-Shirt Design Software for Beginners and Scaling Entrepreneurs
Your choice of design software depends on your skill level and volume. Beginners should start simple. Scaling entrepreneurs need tools that handle batches efficiently.
For beginners: Canva is the fastest entry point. It has t-shirt templates, thousands of design elements, and exports to PDF or PNG. No learning curve. The downside: Canva exports raster files by default, which isn't ideal for screen printing, though you can request vector exports with a paid plan.
Adobe Express is similar but slightly more powerful. It offers basic vector tools and better color control. Both are cloud-based, so you can access designs from anywhere.
For serious design work: Adobe Illustrator is the industry standard. It's built for vector graphics, which screen printers prefer. The learning curve is steep, but the control is unmatched. If you're designing dozens of shirts, Illustrator pays for itself in efficiency and professional results.
Affinity Designer is a cheaper alternative to Illustrator. It does everything Illustrator does for vector work, costs less, and has a gentler learning curve. Many freelance designers prefer it.
For scaling: If you're design t-shirts bulk printing multiple times per week, automation tools matter. Printify integrates with Shopify and other platforms, letting you upload designs once and manage inventory across multiple print partners. This is less about design software and more about workflow, but it saves hours per week on bulk orders.
The key decision: invest in learning vector software early. It pays dividends as your order volume grows.
How to Prepare Artwork for Bulk Printing: Technical Specifications
Preparing artwork correctly is where most bulk orders go wrong. Small mistakes here trigger revision requests, delays, and cost overruns. Here's the checklist.
Color mode: Export your file in CMYK color mode, not RGB. RGB is for screens. CMYK is for print. When you export RGB to print, colors shift, sometimes dramatically. Reds become orange. Blues turn purple. This is one of the most common surprises in bulk printing. If your design software doesn't support CMYK export, use an online converter before sending to your printer.
Bleed area: A bleed is extra space beyond your design's edge. If your design goes all the way to the shirt's edge and the printer's cut is slightly off, you'll have white gaps. Add a quarter-inch bleed around your design. Your printer will trim it away, ensuring your design reaches the edge cleanly.
Transparency: Screen printing can't handle transparent areas. Every part of your design needs a solid color or a pattern. If your design uses transparency effects, flatten the file before exporting. DTG and heat transfer can handle transparency, but screen printing cannot.
Text and fine lines: Text smaller than 8 points (roughly 0.1 inches) becomes unreadable when screen printed. Fine lines thinner than 1 point disappear. If your design uses small text or thin lines, enlarge them or thicken them. Test at actual print size before finalizing.
File naming: Name your file clearly: "ShirtDesign_FrontPrint_CMYK_Final.ai" is better than "Design1.ai". Your printer will appreciate it, and you'll avoid confusion if you're managing multiple designs.
According to B-Bam's 2026 bulk t-shirt screen printing guide, scaling a brand through bulk screen printing now requires integrating retail-quality apparel standards with automated webstore ecosystems to manage high-volume orders effectively.
Sizing, Placement, and Design Layout for Maximum Wearability
A design that looks great on your computer might look awkward on an actual person. Placement and sizing determine whether people actually wear the shirt or it sits in a drawer.
Front print placement: The standard placement is 2-3 inches below the neckline, centered horizontally. This is what people expect. Deviating from this standard makes the shirt feel off, even if the design is beautiful. Keep front prints between 8-12 inches wide for most adult sizes. Smaller designs feel cheap. Larger designs overwhelm the shirt and limit who can wear it comfortably.
Back print placement: Center your design between the shoulder blades. For larger back prints, position the top of the design 4-5 inches below the neckline. This ensures the design sits visibly when someone's wearing the shirt, not hidden by a jacket.
Sleeve prints: If you're printing on sleeves, keep designs small, 2-4 inches wide.
Scaling From Small Batches to Wholesale and Managing Bulk Orders
The jump from 10 shirts to 100 shirts feels simple mathematically. Operationally, it's a different business. Your design workflow, file management, and vendor relationships all need to scale.
Frequently Asked Questions
What file format is best for bulk t-shirt printing?
Vector files (AI, EPS, or PDF) are ideal for screen printing because they scale infinitely without quality loss. For direct-to-garment (DTG) printing, high-resolution raster files (300 DPI minimum in RGB or CMYK) work well. Always confirm your printer's preferred format before finalizing designs. Most bulk printing services provide file specifications on their websites to ensure your artwork prints correctly.
How do I know if my design resolution is high enough for bulk printing?
Aim for a minimum of 300 dots per inch (DPI) at your final print size. If your design is 8 inches wide, your file should be at least 2,400 pixels wide (8 × 300). For screen printing with vector graphics, DPI doesn't apply, vectors are resolution-independent. Test your file with your printer's proof system before committing to a full order to catch resolution issues early.
What are the most common mistakes when designing t-shirts for bulk orders?
Oversized prints reduce wearability and increase ink costs; keep designs balanced and modest in size. Ignoring bleed areas and safe zones causes cropping during printing. Using raster images instead of vectors for screen printing results in pixelation. Mismatched color modes (RGB instead of CMYK) create color surprises. Finally, not accounting for garment shrinkage or fabric texture can disappoint customers. Always request a proof before printing hundreds of units.
Can I use AI tools like ChatGPT to generate t-shirt designs for bulk printing?
AI can generate design concepts and inspiration quickly, but most AI outputs produce raster images that need conversion to vector format for screen printing. You'll need design software skills to refine, color-separate, and prepare AI-generated artwork for bulk printing. AI works best as a brainstorming tool; always have a designer review and finalize files before sending to your printer to ensure print quality and commercial viability.