

How to Order Custom Shirts Online: A 2026 Guide
Table of Contents
- How to Design Your Own Shirt
- How to Prepare Artwork for Custom Shirts
- Screen Printing vs Direct to Garment: Which Method Is Right for You
- Choosing Fabrics, Fits, and Shirt Styles
- Custom Shirt Printing No Minimum: Ordering Small Quantities
- Bulk Custom Shirt Pricing Guide and Cost Factors
- Turnaround Times, Proof Approval, and Shipping
- Troubleshooting Common Print Errors and Quality Issues
Last Updated: August 11, 2026
How to Design Your Own Shirt
Designing your own shirt online is now accessible to everyone. Choose a design platform matching your skill level, then use drag-and-drop interfaces to upload images, add text, adjust colors, and preview in real time. Remember that screen colors won't match printed results perfectly, which is why proof approval is critical.
Think carefully about placement and size. A design readable on full screen may become illegible when printed at actual scale. Center chest prints work for bold statements; smaller designs on sleeves suit subtle branding.
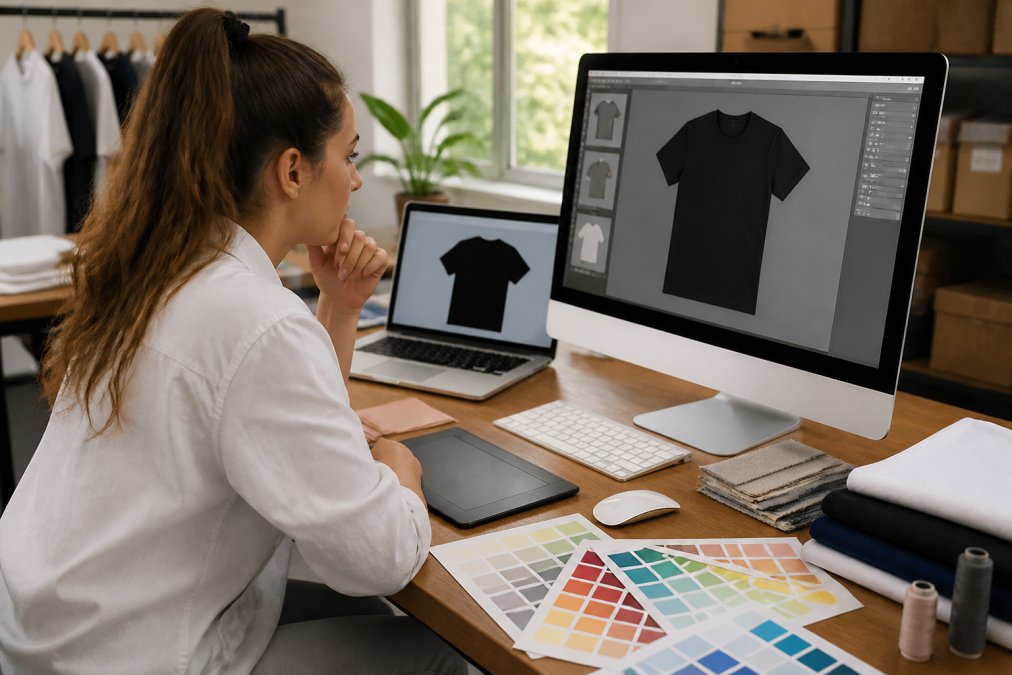
Start simple if you're new to design. A single color, clear typography, and minimal graphics almost always outperform complex compositions.
How to Prepare Artwork for Custom Shirts
File preparation is where most DIY designers stumble. Your artwork file must be formatted correctly or the printer will reject it or deliver disappointing results.
Vector artwork uses mathematical formulas to create scalable images (Adobe Illustrator .AI, .EPS, or PDF files). Raster graphics are pixel-based images like JPEGs and PNGs. For screen printing and direct-to-garment printing, vector files are strongly preferred because they scale without quality loss and print cleaner edges.
Use a vector design program like Adobe Illustrator or free alternatives like Inkscape. Export as PDF, EPS, or SVG to preserve vector information. For raster images, resolution matters enormously. The minimum requirement is 300 DPI (dots per inch) at the size you want to print. A design 8 inches wide needs to be 2,400 pixels wide at 300 DPI.
Your design file should be in CMYK (cyan, magenta, yellow, black) color space, not RGB. RGB is for screens; CMYK is for printing. Colors shift when converting RGB to CMYK, sometimes dramatically. This is why proof approval exists, you need to see how your color choices actually render before production.
Specify whether transparent areas should be the shirt's natural color or a printed color. Some printing methods don't support transparency, so confirm compatibility upfront.
Screen Printing vs Direct to Garment: Which Method Is Right for You
Two dominant printing technologies compete for custom shirt work: screen printing and direct-to-garment (DTG). Each has distinct strengths, limitations, and cost implications.
Screen printing is the traditional method. A separate screen is created for each color in your design. Ink is forced through the screen mesh onto the shirt, creating a thick, durable layer that excels at bold, simple designs with limited colors. The ink sits on top of the fabric, creating a tactile, vibrant print that lasts through hundreds of washes. Screen printing is most economical for bulk orders because per-unit cost drops significantly as quantity increases.
The catch: screen printing struggles with photorealistic images, gradients, and designs requiring many colors. Each color requires a separate screen, and setup costs are fixed regardless of quantity. Screen printing typically requires minimum orders of 25-50 units to make economic sense.
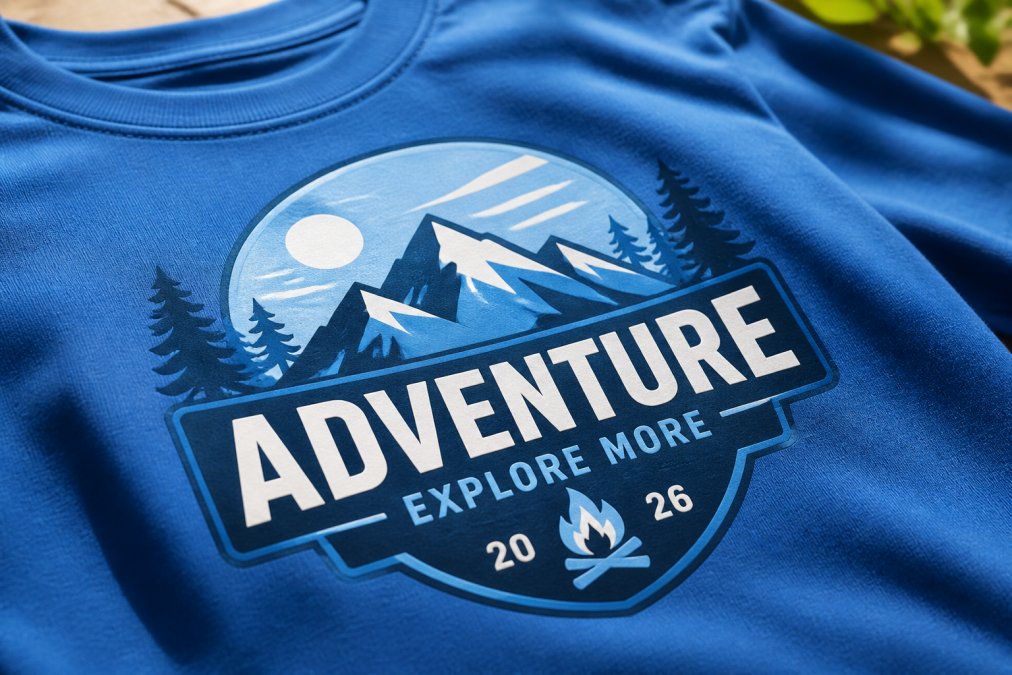
Direct-to-garment (DTG) printing sprays CMYK inks directly onto the shirt like an inkjet printer. DTG handles photorealistic images, unlimited colors, and complex gradients without additional setup costs. There are no minimum orders, you can print one shirt or one thousand at the same per-unit price.
However, DTG has limitations. The ink sits on top of the fabric rather than bonding into the weave like screen printing. Over time and through repeated washing, DTG prints fade faster than screen prints. DTG also works best on light-colored, natural fiber shirts.
For bulk orders, screen printing becomes more economical as quantity increases. For orders under 25 shirts, DTG almost always wins on price because you avoid setup fees entirely. Match your design to the right technology: a simple 2-color logo works best with screen printing, while photorealistic images or 6+ colors favor DTG.
Choosing Fabrics, Fits, and Shirt Styles
The garment itself matters as much as the design printed on it. Fabric composition, weight, fit, and style all influence how your design looks and performs.
Fabric composition determines comfort, durability, and how ink adheres during printing. Pure cotton is the standard for custom apparel. It's breathable, soft, and takes ink beautifully. Cotton blends (typically 50/50 or 65/35 cotton-polyester) add durability and reduce shrinkage. For custom shirt printing, 100% cotton is ideal for screen printing.
Fabric weight is measured in ounces per square yard. Standard weight (5.5-6.0 oz) is the sweet spot for most applications. Heavier weights feel substantial but can feel stiff.
Fit and sizing directly impact customer satisfaction, especially when ordering as gifts. Unisex cuts run larger and boxier. Fitted cuts hug the body. Women's cuts taper at the waist. Use sizing guides provided by the printer.
Custom Shirt Printing No Minimum: Ordering Small Quantities
The biggest shift in the custom apparel industry is the elimination of minimums. You no longer need to order 50 shirts to make it economical. Services offering custom shirt printing no minimum allow you to order a single shirt or a handful without penalty pricing.
This flexibility changes the entire calculus for small businesses, event organizers, and gift-givers. A parent ordering 8 shirts for a class trip, a teacher wanting personalized appreciation gifts for 12 colleagues, or a small nonprofit needing branded merchandise, these quantities were impractical a decade ago and are now standard.
No-minimum printing typically uses DTG technology because it eliminates the fixed setup costs that make screen printing uneconomical at low volumes. Each shirt is printed individually, so the per-unit cost remains constant whether you order 1 or 100.
Pricing per unit is higher for small orders than bulk orders, but the total cost for 15 shirts is often lower than paying a 50-unit minimum elsewhere. Compare total investment, not just per-unit pricing. Small-quantity orders also let you test designs before scaling. Order 5-10 shirts, gather feedback, then order more if successful.
Watch for hidden fees like setup, artwork, or rush charges that inflate total cost.
Bulk Custom Shirt Pricing Guide and Cost Factors
When ordering dozens or hundreds of shirts, the pricing structure changes dramatically. Understanding what drives bulk custom shirt pricing helps you negotiate better rates.
Quantity breaks are the foundation of bulk pricing. Ordering 50 shirts costs more per unit than ordering 100, which costs more than ordering 500. Each tier reflects lower fixed costs spread across more units.
Design complexity affects pricing. A simple single-color design costs less than a 5-color design or photorealistic print. Screen printing charges per color because each color requires a separate screen.
Garment choice influences cost. Basic unisex t-shirts are cheapest. Premium blanks and specialty items like hoodies carry premium pricing.
Turnaround time affects pricing significantly. Standard production (7-14 days) is the baseline. Rush orders (3-5 days) typically add 25-50% to total cost.
Color and fabric selection matter too. Printing on white or light colors is cheaper than dark colors, which require pre-treatment or special inks.
For bulk orders, request a formal quote rather than relying on online calculators. Printers often negotiate on large quantities. Compare pricing across methods too, for a 100-shirt order with a simple 2-color design, screen printing might be significantly cheaper than DTG.
Turnaround Times, Proof Approval, and Shipping
Timeline management separates smooth orders from stressful ones. Understanding typical turnaround times and approval processes prevents last-minute scrambling.
Standard production turnaround for custom shirts typically ranges from 7-14 business days after proof approval. The clock starts when you approve the proof, not when you place the order.
Proof approval is non-negotiable for quality assurance. After uploading your design, the printer creates a digital or physical proof showing exactly how your design will appear on your chosen shirt. You review it for color accuracy, placement, sizing, and any issues. This is your last chance to catch problems before production. Color matching is the most common proof concern. The proof shows the actual printed color. If the color isn't what you expected, request a revision.
Placement and sizing are equally important. Is the design centered? Is it the right size? Catching these issues during proof approval costs nothing. Catching them after production is shipped means reprinting.
Rush orders compress the timeline. Standard 7-14 day production can often be reduced to 3-5 days for an additional fee.
Shipping logistics add another 2-7 days depending on your location and shipping method. Factor shipping time into your total timeline. A 10-day production order plus 5-day shipping means 15 days total.
Confirm shipping address accuracy before finalizing your order. For bulk orders to multiple locations, clarify whether the printer ships everything to one address or splits shipments.
Troubleshooting Common Print Errors and Quality Issues
Even with careful planning, print quality problems occasionally occur. Understanding common issues and how to prevent them saves frustration and money.
Color inconsistency is the most frequent complaint. The design looked vibrant on screen but printed dull. This happens because screen colors (RGB) don't directly translate to print colors (CMYK). Always convert RGB files to CMYK before uploading. Request a color-accurate proof and approve it on a proper monitor.
Ink cracking or peeling indicates adhesion problems, typically with DTG printing on blended fabrics or when ink isn't properly cured. Washing in cold water and air-drying extends print life.
Blurry or pixelated prints result from low-resolution artwork. Check your file resolution before uploading.
Design placement issues usually stem from unclear placement instructions. Specify exactly where you want the design. "Center chest, 1 inch from collar" is clearer than "wherever it looks good."
Fading or color shift after washing suggests low-quality ink or improper curing. Screen-printed shirts fade slower than DTG because ink bonds into the fiber. Washing inside-out and avoiding bleach helps.
If you receive a shirt with quality issues, contact the printer immediately with photos. Reputable printers stand behind their work.
Ordering custom shirts online has become straightforward when you understand the process. From design to final delivery, each step, preparation, printing method selection, fabric choice, proof approval, and shipping, influences your results. Start with a clear design concept, prepare your artwork properly, choose the right printing method for your needs, and don't skip proof approval. The small effort invested upfront prevents costly mistakes and ensures you receive exactly what you envisioned.
Frequently Asked Questions
Do I need a minimum order quantity to get custom shirts?
No. Many custom shirt services, including Urban Echo Tees, offer custom shirt printing with no minimum order requirement. This means you can order a single personalized shirt or just a handful for small events like family trips or classroom gifts without bulk pricing requirements. This flexibility makes custom apparel accessible whether you're ordering one piece or hundreds.
What is the difference between screen printing and digital printing for custom shirts?
Screen printing uses mesh screens and ink to apply designs, offering excellent durability and vibrant colors on larger orders. Direct-to-garment (DTG) printing applies designs directly onto fabric like an inkjet printer, ideal for detailed artwork and small quantities with no setup fees. Screen printing typically costs less per shirt on bulk orders; DTG works better for single items or complex designs with many colors.
How do I know the colors in my design will match what I see on my screen?
Request a design proof before production begins. Most custom shirt services provide a mockup showing your exact design on the garment you selected. This lets you verify color matching and placement. If colors look off in the proof, you can adjust before printing starts. Lighting and screen settings affect how colors appear, so seeing a proof on the actual shirt style eliminates surprises.
What file format and resolution do I need for my custom shirt artwork?
Vector artwork (AI, EPS, PDF) is ideal because it scales without quality loss. For raster graphics (JPG, PNG), use at least 300 DPI at your design's final size. Vector files work best for screen printing; high-resolution raster files suit direct-to-garment printing. Check your custom shirt service's technical requirements, most provide file preparation guides to ensure your artwork prints cleanly without pixelation or blurriness.
How long does it take to receive my custom shirt order?
Standard turnaround times typically range from 5-10 business days after proof approval, depending on the printing method and order complexity. Rush orders are available if you need apparel faster, though they may incur additional fees. Shipping adds 2-5 business days depending on your location and delivery method. Check with your service about specific timelines when you place your order.
Can I exchange or return custom shirts if they don't fit right?
Return and exchange policies vary by service. Most allow exchanges for size or fit issues within a set timeframe, typically 30 days. Since custom apparel is personalized, some services may not accept returns for style preference changes. Always review the return policy before ordering, especially when buying gifts. Sizing guides and detailed fit information help prevent fit problems before you order.
This article was written using GrandRanker