

How to Avoid Common T-Shirt Printing Mistakes
Table of Contents
- Understand Your T-Shirt Printing Method: DTG vs Screen Printing
- Prepare Your T-Shirt Printing File Requirements Correctly
- Master T-Shirt Print Placement Guide for Perfect Alignment
- Choose the Right Shirt Material and Garment for Your Design
- Design Elements That Cause T-Shirt Printing Mistakes
- Use a T-Shirt Printing Quality Checklist Before Production
- Fix Common Mistakes and Prevent Reprints
- Frequently Asked Questions
Last Updated: October 13, 2026
Understand Your T-Shirt Printing Method: DTG vs Screen Printing
Choosing the right printing method is the foundation of avoiding mistakes. The two most common approaches, direct-to-garment (DTG) and screen printing, have completely different strengths and weaknesses.
DTG printing works like an inkjet printer for fabric, spraying ink directly onto the shirt. It's fast for small orders, handles detailed designs well, and works on any shirt color. The trade-off: ink sits on top of the fabric, so durability suffers without proper pre-treatment.
Screen printing pushes ink through mesh screens onto the shirt. It's built for bulk runs and produces vibrant, long-lasting prints, but works best with simple designs and fewer colors. High setup costs make small orders uneconomical.
Here's what matters for avoiding mistakes: know your method before you design. If you're ordering 10 shirts for a teacher appreciation event, DTG is likely your answer. If you need 500 matching shirts for a company retreat, screen printing wins.
Other methods exist, heat transfer, vinyl cutting, embroidery, but each has its own rules. Match your design complexity, order size, and timeline to what the method can deliver.
Prepare Your T-Shirt Printing File Requirements Correctly
This is where most mistakes start. A bad file creates a bad print, and no printer can fix that.
Your file must meet specific technical standards, or the printer will reject it, delay your order, or print something that doesn't match your design. These are requirements, not suggestions.
Resolution and Image Quality
Image resolution determines how crisp your design looks on the finished shirt. Low-resolution files produce blurry, pixelated prints.
The standard is 300 DPI (dots per inch) for print files. This is the industry minimum. Anything less than 300 DPI will show visible pixelation, especially on larger designs or when viewed up close.
A 72 DPI file designed for a website looks perfect on screen but falls apart on fabric. Enlarging a low-resolution file only makes pixelation worse, so start with high-resolution artwork.
If you're pulling images from the internet, assume they're too low-resolution. If you don't know your image's resolution, it's probably not print-ready.
File Format and Color Space
Format matters because printers accept different file types. The most common are PDF, PNG, and TIFF; JPEGs can work but often compress and lose quality.
Color space is the hidden killer. Your design might look perfect on your laptop but print completely differently, because screens use RGB (red, green, blue) while printers use CMYK (cyan, magenta, yellow, black).
RGB files print with muddy, washed-out colors. CMYK files print true to what the designer intended. Convert your file to CMYK before sending it to the printer. Most design software has a simple menu option for this conversion.
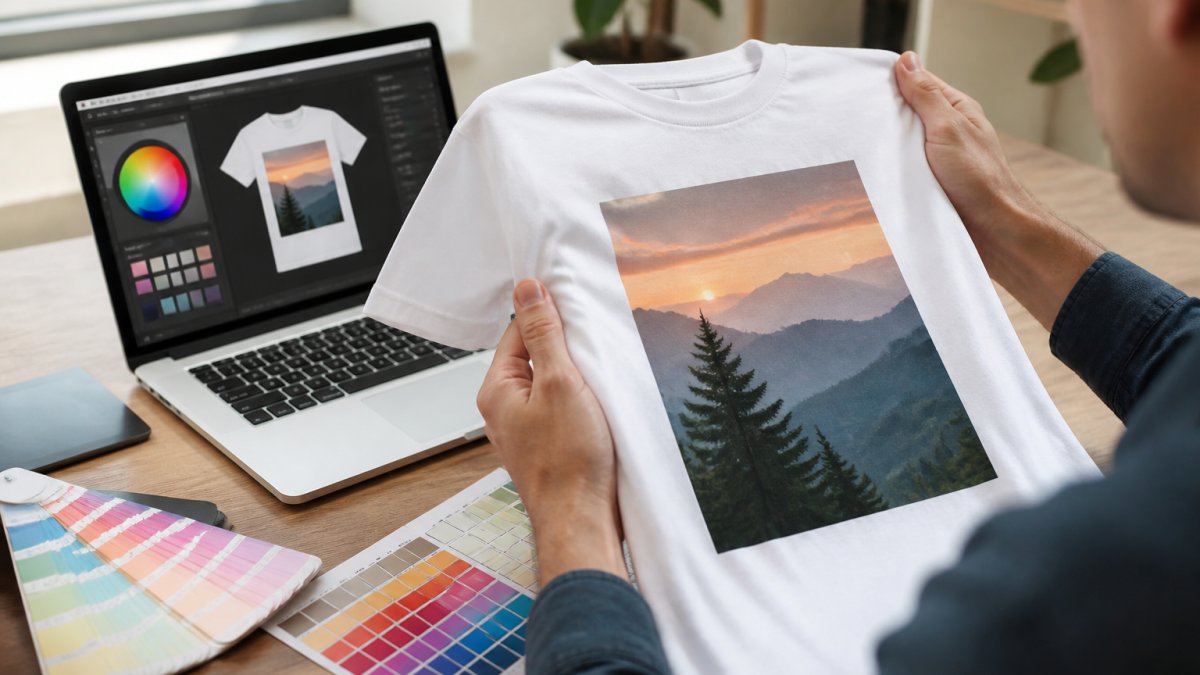
Master T-Shirt Print Placement Guide for Perfect Alignment
Where you place the design matters as much as the design itself. A perfect logo placed off-center or too close to a seam ruins the whole shirt.
Standard chest prints sit 2-3 inches below the neckline, centered horizontally. Full-back prints sit higher, around 4-5 inches below the collar, to account for how the shirt hangs.
The placement guide prevents common alignment disasters:
- Off-center designs make the shirt look cheap and mistake-ridden
- Prints too close to seams get cut off or distorted during finishing
- Designs that wrap around seams crack and peel faster
- Sleeve prints placed too far back shift during wear
Always provide a placement mockup showing exactly where you want the design. Printers use mockups to set up the machine correctly; without one, they guess.
Seams are the enemy of placement precision. Avoid placing designs directly over shoulder, side, or sleeve seams, the fabric is thicker, ink adheres poorly, and prints crack faster. Leave at least 1 inch of clear space on either side of major seams.
Choose the Right Shirt Material and Garment for Your Design
The fabric you print on changes everything. Not all shirts work with all printing methods; the wrong material means the print won't stick, won't last, or will look terrible.
Cotton absorbs ink well and produces sharp, vibrant prints, the industry standard for a reason. Cotton-poly blends (usually 50/50 or 65/35) also work, though polyester requires different ink formulations.
100% polyester is trickier. DTG printers struggle because ink sits on the surface instead of sinking in. Screen printing works better, but the ink can feel stiff and crack more easily.
Specialty fabrics like performance wear, moisture-wicking fabrics, or treated synthetics need specific pre-treatment. If your shirt has a special coating or finish, tell the printer before sending artwork so they can adjust their process.
Here's what most people don't know: the shirt color affects how your design looks. A navy design on a navy shirt disappears. A light design on a light shirt does the same.
Shirt quality also matters for durability. Cheap, thin fabric pills and wears faster, making even a perfect print look bad after a few washes.
Design Elements That Cause T-Shirt Printing Mistakes
Certain design choices cause problems every single time. Knowing which ones to avoid saves you from reprints and disappointed customers.
Font Selection and Small Text
Small text is the number-one design element that fails on printed shirts. Fonts that look fine on screen become unreadable blobs at actual print size.
The rule: never go smaller than 8 points for body text, and 12 points for headlines. These are minimums. Smaller than that, and the letters blur together, especially on textured fabric.
Sans-serif fonts (Arial, Helvetica, Verdana) print cleaner than serif fonts (Times New Roman, Georgia) because they have simpler shapes. Decorative fonts almost never work on shirts, the details disappear.
Script fonts are especially problematic: elegant on screen, but they print as connected, unreadable lines. Avoid them for any text that needs to be legible.
Test your font choice at the actual size it will print. Many printing mistakes happen because designers tested fonts at screen size, not print size.
Color Matching and Screen Display Issues
What you see on your screen is not what prints on the shirt. This color mismatch is one of the biggest sources of customer complaints.
Screens display colors in RGB; printers use CMYK or spot colors, and the conversion isn't perfect. Bright neons become muted, deep purples shift toward blue, and reds lean orange.
The fix is simple: always request a physical color proof before approving a full production run. A mockup on screen doesn't count. You need to see the actual ink on the actual shirt color. This takes a few extra days but prevents expensive reprints.
Many printers offer this service for a small fee. We include color proofing on custom orders so you catch color issues before production.
Lighting also affects how colors look: daylight shows true colors, fluorescent shifts them cool, incandescent shifts them warm. View your proof in the same lighting where the shirt will be worn or displayed.
Use a T-Shirt Printing Quality Checklist Before Production
A quality checklist catches mistakes before they become expensive reprints. Run through this before you approve any print job.
Pre-Production Approval and Mockup Review
Before the printer touches your shirt, approve a digital mockup and ideally a physical sample.
The mockup should show:
- Design placement on the shirt (front, back, sleeve)
- Design size relative to the shirt
- Colors as they'll appear in print
- Font sizes and legibility
- Distance from seams and edges
Review the mockup against your original design brief: does it match what you asked for, with the right placement and colors?
If something looks off, ask the printer to adjust before they start production. Changes at this stage cost nothing. Changes after printing cost everything.
Physical proofs matter. A digital mockup can hide problems that only become clear on actual fabric, the texture, how ink sits on the material, the exact color match.
Test Print and Quality Control
Before running a full order, most printers do a test print on one shirt, your last chance to catch mistakes.
Check the test print for:
- Color accuracy (does it match your proof?)
- Print sharpness (are edges crisp or blurry?)
- Placement precision (is it centered where you wanted?)
- Ink adhesion (does the print feel stiff or does it move with the fabric?)
- No visible defects (smudges, uneven coverage, spots)
Wash the test shirt once to see how the print holds up. Quality prints shouldn't crack, fade, or peel after one wash; if they do, there's a problem with the process or the material.
| Checklist Item | What to Check | Red Flag |
|---|---|---|
| File resolution | 300 DPI minimum | Below 300 DPI = blurry print |
| Color space | CMYK format | RGB = color shift in print |
| Placement | 2-3 inches below neckline, centered | Off-center or too close to seams |
| Font size | 8 points minimum for body text | Smaller = unreadable on fabric |
| Proof approval | Physical sample, not just digital | Only digital approval = color surprises |
| Test print | One shirt before full run | Skip this = higher risk of reprints |
Fix Common Mistakes and Prevent Reprints
Sometimes mistakes happen despite your best efforts. Knowing how to fix them saves time and money.
If the print is off-center, it's usually a setup error, the printer didn't align the design correctly.
If colors are wrong, it's usually a color space issue or screen-to-print mismatch. The printer should have caught this during proofing; if not, ask for a reprint.
If text is blurry or pixelated, the file resolution was too low.
If the print cracks or peels after washing, it's a fabric or ink adhesion issue. Quality shirts with proper pre-treatment shouldn't have this problem; if it happens, it's the printer's responsibility.
Prevention beats fixing every time. A few extra hours on file prep, proofing, and quality checks saves days of back-and-forth and the cost of reprints.
Getting your t-shirt printing right requires attention to detail at every stage, from choosing the right method and preparing files to approving proofs and running quality checks.
We work with you through every stage of the process.
Frequently Asked Questions
What file format and resolution should I use for t-shirt printing?
Use vector formats or high-resolution raster files (minimum 300 DPI at print size) for photographs. RGB color space works best for digital printing methods like DTG, while CMYK is standard for screen printing. Always provide files at actual print dimensions to avoid scaling issues that cause pixelation or blurriness on the finished garment.
How can I avoid color differences between my design on screen and the printed shirt?
Screen colors and printed colors never match perfectly due to RGB versus CMYK color space differences. Request a physical proof or sample print on your chosen shirt color before approving a bulk order. Discuss color matching expectations with your printer upfront, and avoid designs that depend on exact color precision for critical elements like logos or brand colors.
Which is better for t-shirt printing: DTG or screen printing?
DTG (direct-to-garment) printing works best for small orders, detailed designs, and photographic images; it handles unlimited colors without setup costs. Screen printing excels for large bulk orders, simple designs, and maximum durability; it requires higher minimums but costs less per shirt at scale. Choose based on your order size, design complexity, and budget rather than assuming one method is universally better.
Can a t-shirt printing mistake be fixed after the shirts are finished?
Most printing mistakes cannot be fixed on finished garments without damaging the shirt. Cracked or faded prints cannot be restored, and misaligned designs are permanent. The best approach is prevention: request a mockup approval and test print before full production. If a mistake occurs, discuss reprint options with your printer immediately.